


In this article, you will learn how to deploy or migrate an SQL database from an onpremise SQL database to Azure environment using the Sql Server management Studio 19.
Follow the steps highlighted below .
The following are the prerequisites to achieve this database migration.
Download and install SQL SERVER 2022 and SSMS 19 version on your system.
Create an account with microsoft.
Setup an account with Microsoft Azure with Valid Subscription.
Next, Login to your microsoft Azure account at Portal.azure.com
Go to the search bar and search for SQL Server
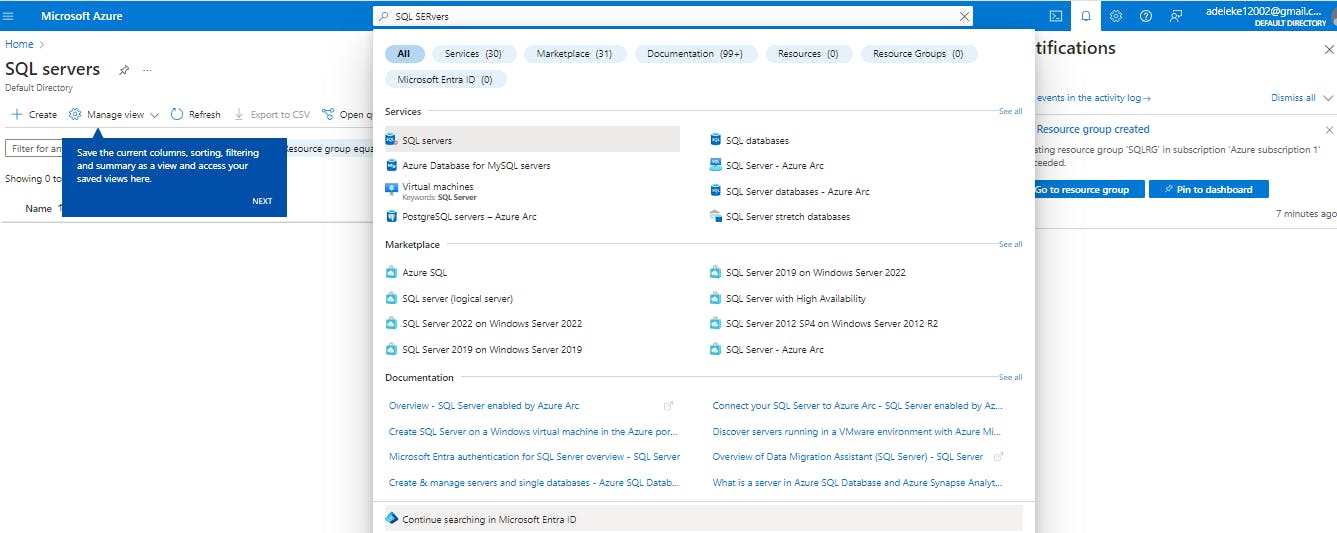
Click on Create

Provide informations requested as appropraite in the spaces provided below
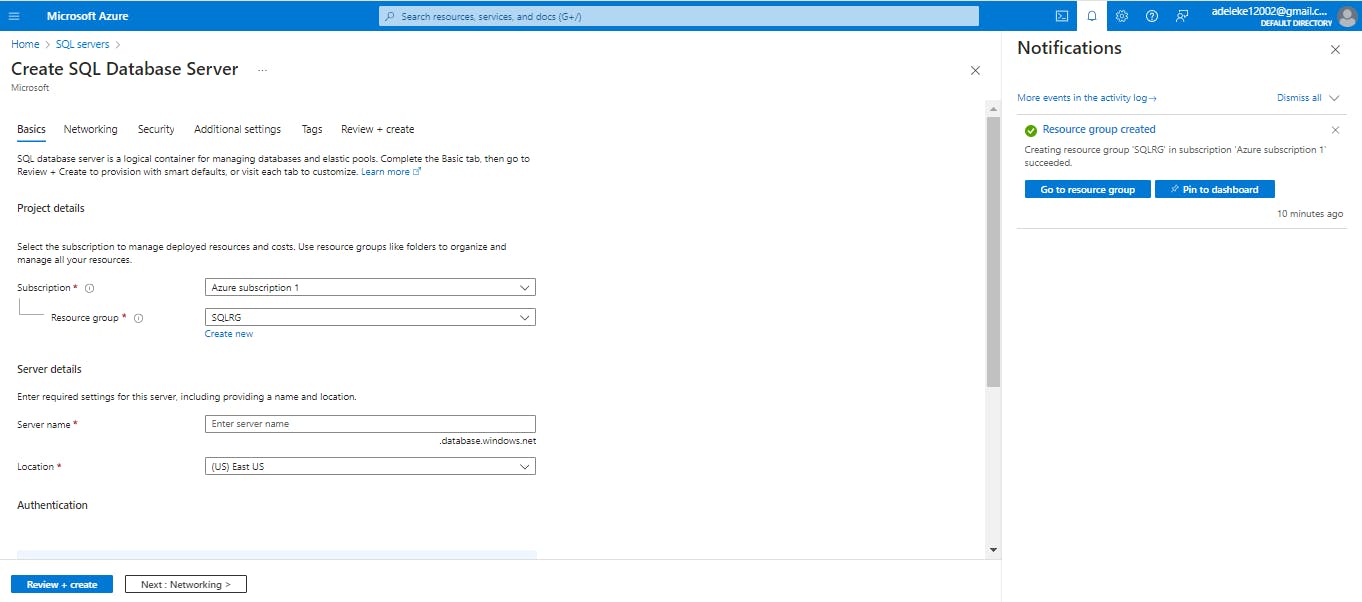
If you are yet to create a resource group, click on the create button below the text box.
Enter the name you wish for your server with name conforming to the rule associated to the server naming convention.

Authentication mode
Select Both SQL and Microsoft Entra/Active directory. This will allow both SQL Login and the System administrator and User logins on the Sql Server.
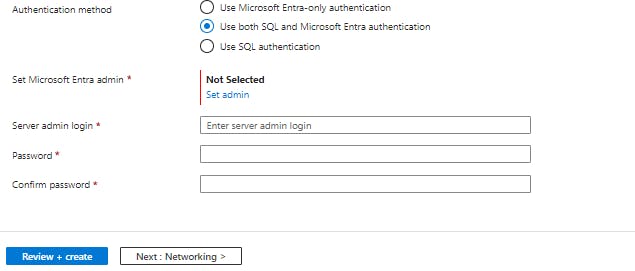
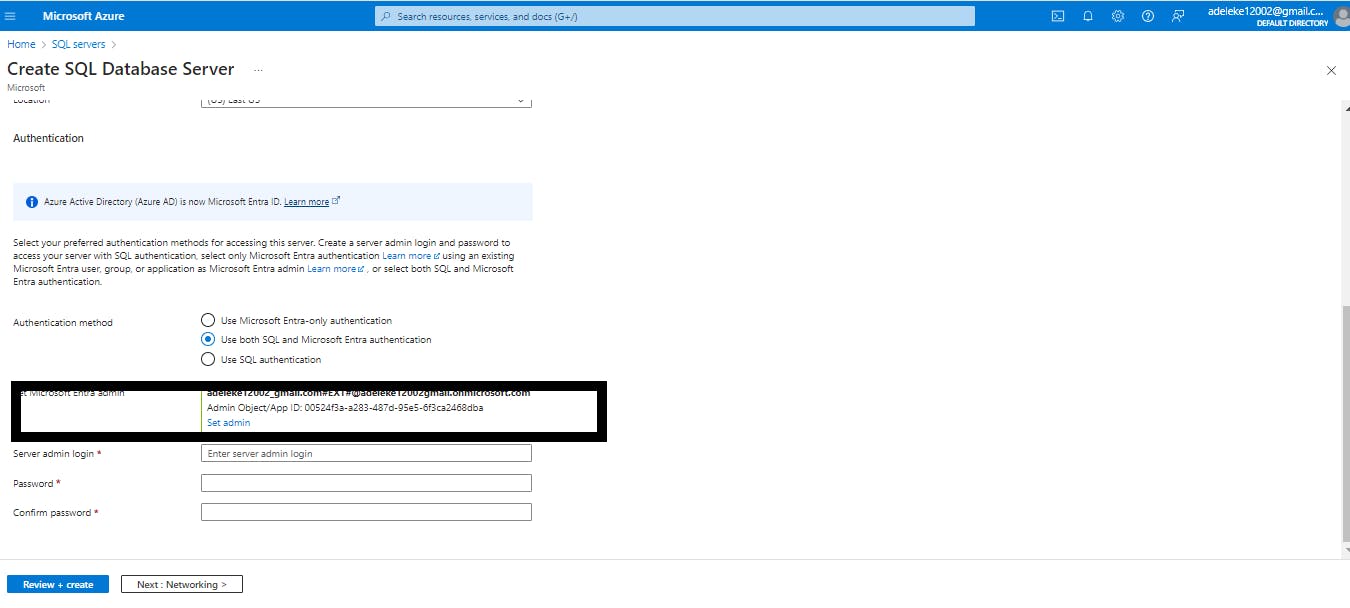
Proceed to Setting up the MS Entra User by clicking on Set Admin

The account selected will be displayed in the set admin as shown below
Proceed to Networking Tab and allow azure service to be access publicly. This will enable connection from the local onprem database with internet connection.

Create and Review your deployment

Your Deployment is complete

Upon Completion of your Server, proceed to create an SQL Database as displayed in the picture above.
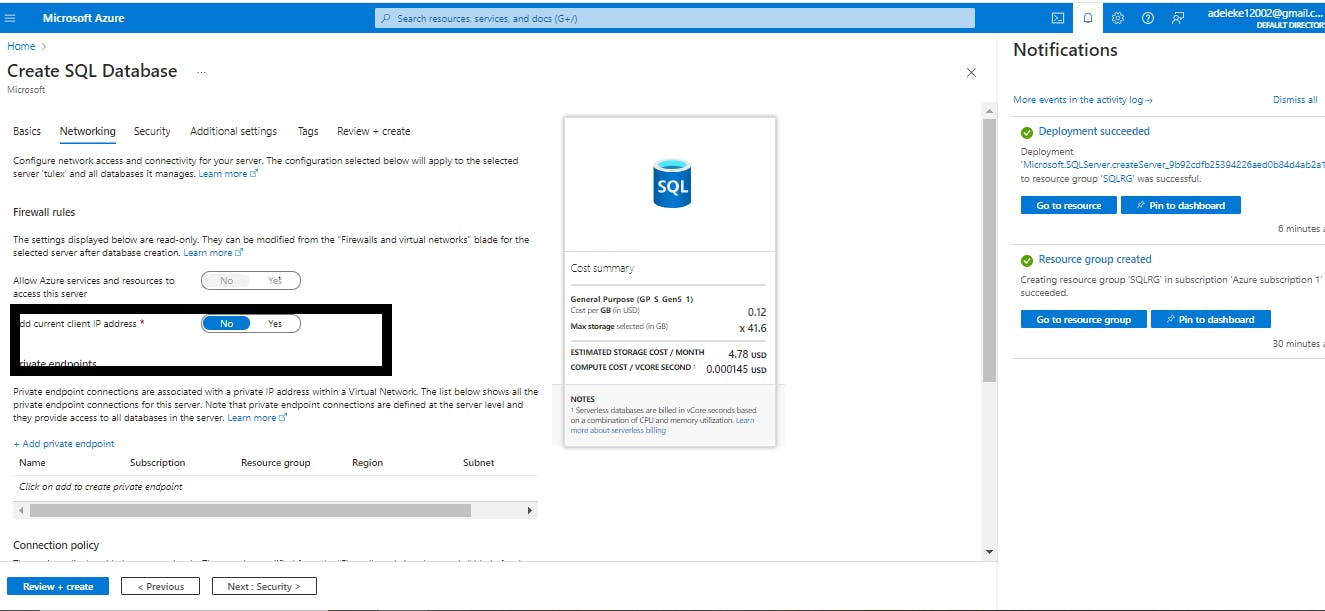
Proceed to networking and add current client IP Address to be able to access the resources whenever.
Review and Create your deployment database

Upon Creation of your SQL database Sqlserver02, here is the overview displayed below.

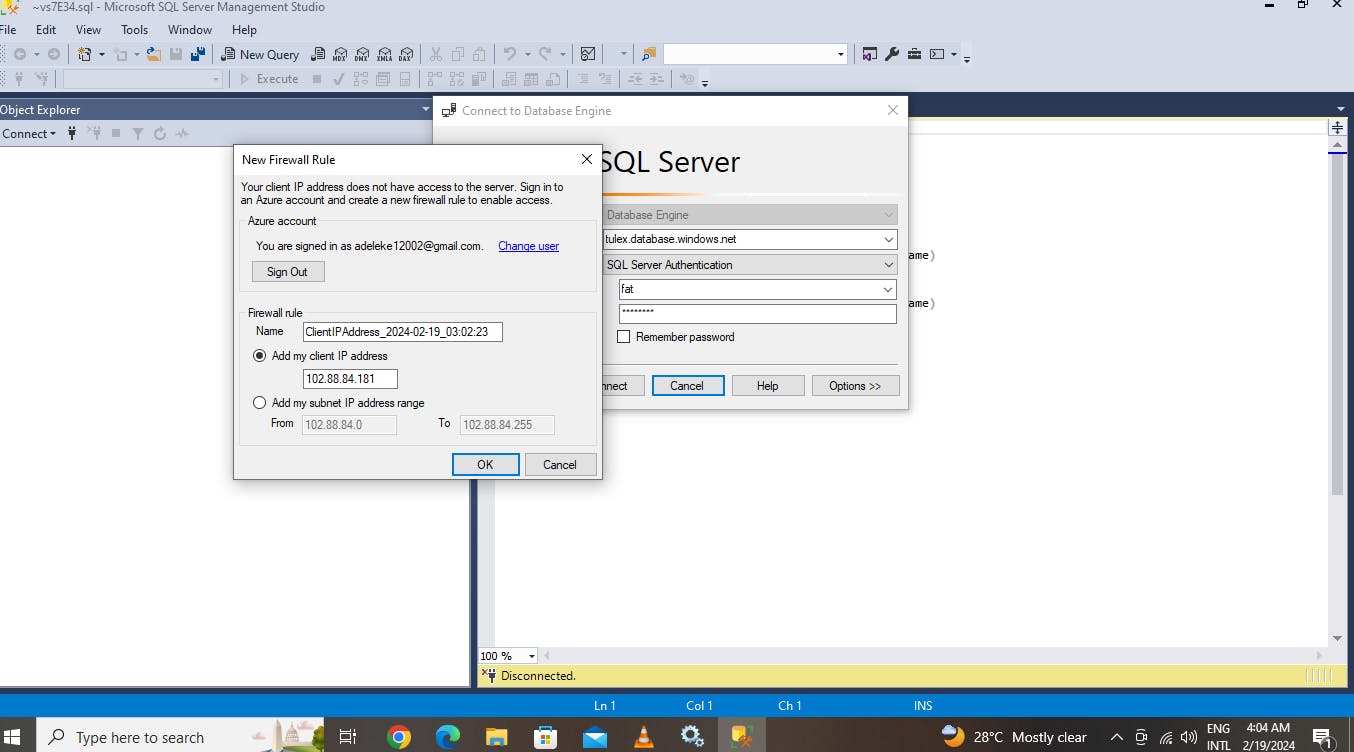
Goto your System and search for SSMS or Management studio 19 and press enter
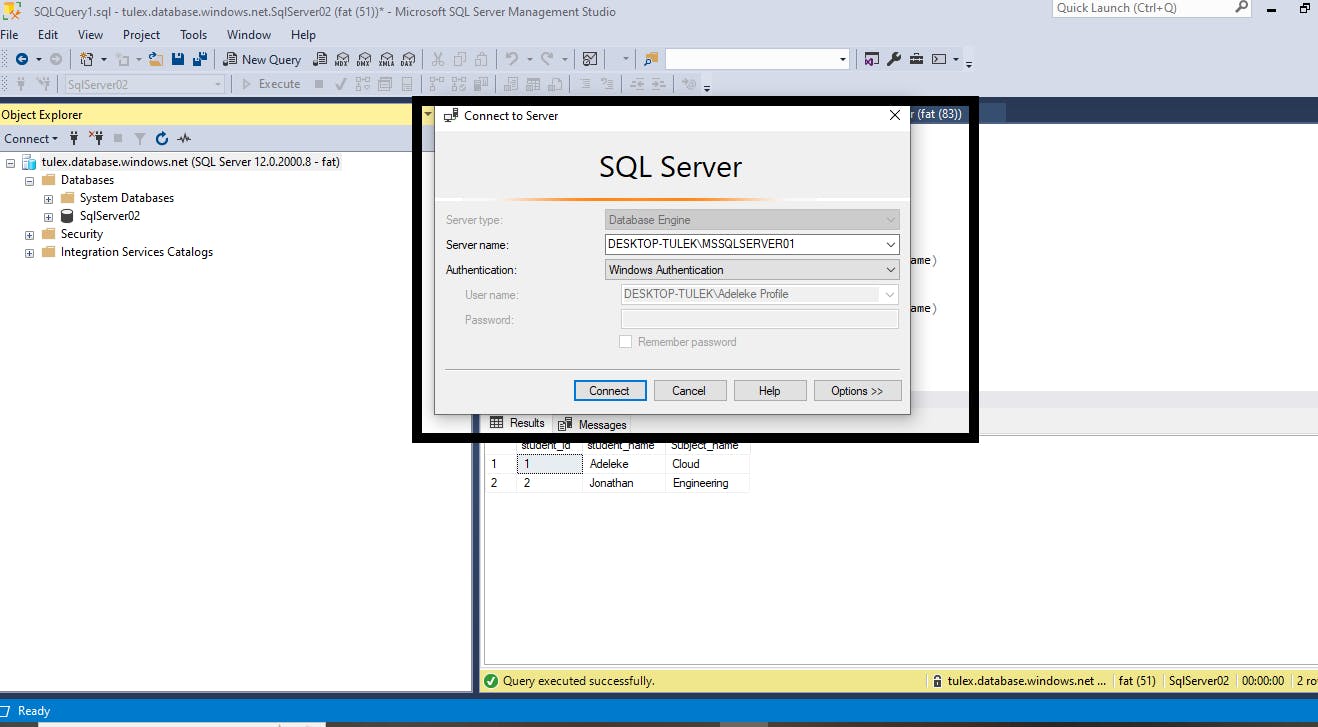
You will be prompted to enter the Server Connection details you wish to connect to

In this case, Tulex.database.windows.net is the name of the server we created in Azure.
Alternative means of connecting to the Azure server is attarch a virtual network to the Server created and use the Server IP in place of Server name to connect as demonstrated
Select SQL Authentication and provide the Login you created when creating the Server (username : fat and Password : S*******)
After click Connect , a Firewall rule page is displayed which after provide your authenticated login, you will be allowed login
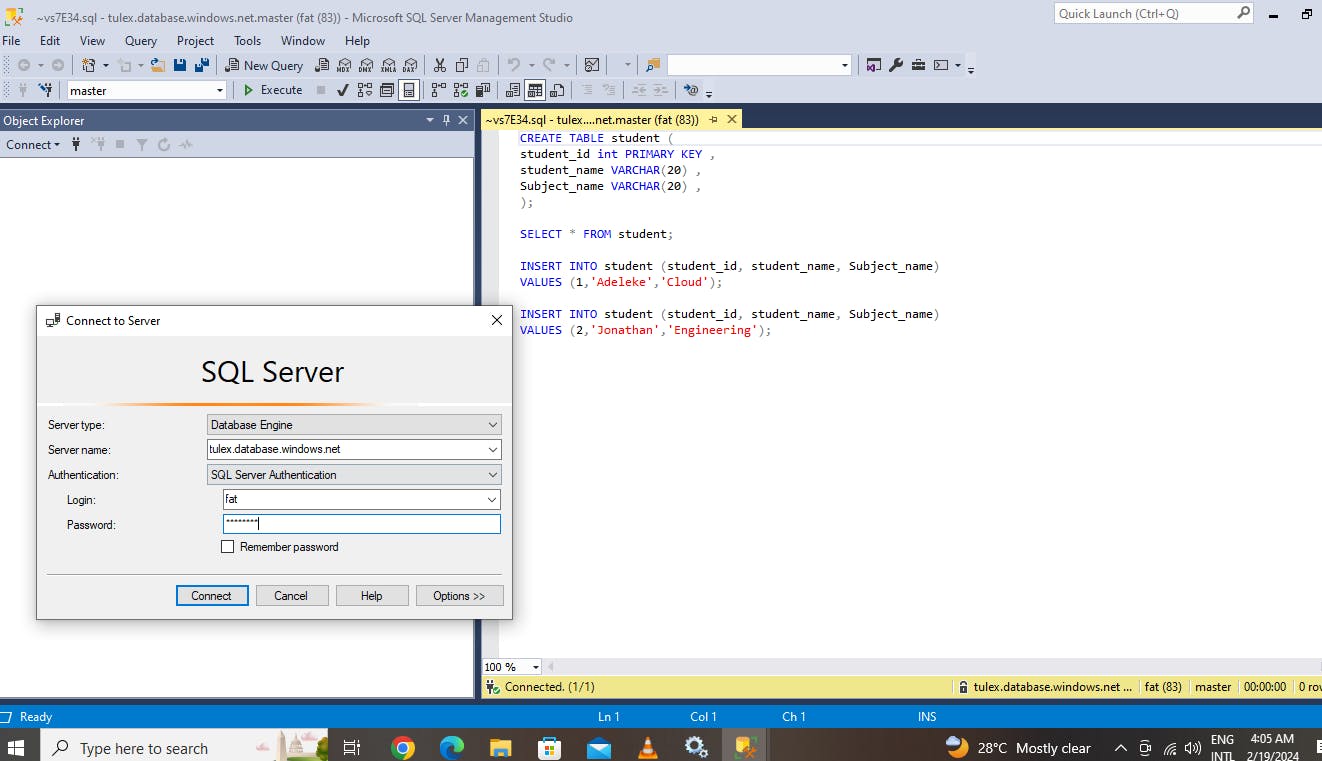

The above is the Sql database created in Azure. We just connect to the database from the onprem database.
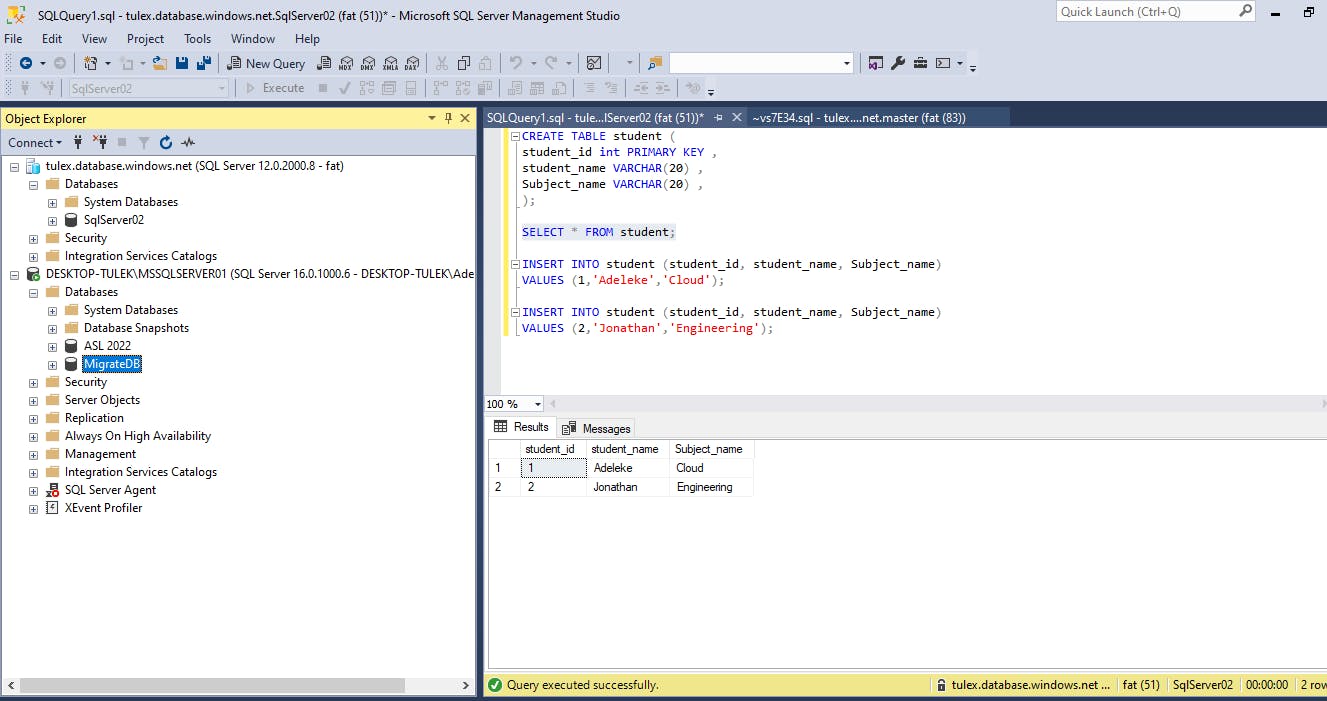
From the onprem database, i will be adding a table to the sqlserver02 database using the query editor.
Note that , every updates you perform to the database from the onprem will surely be updated in the Azure.
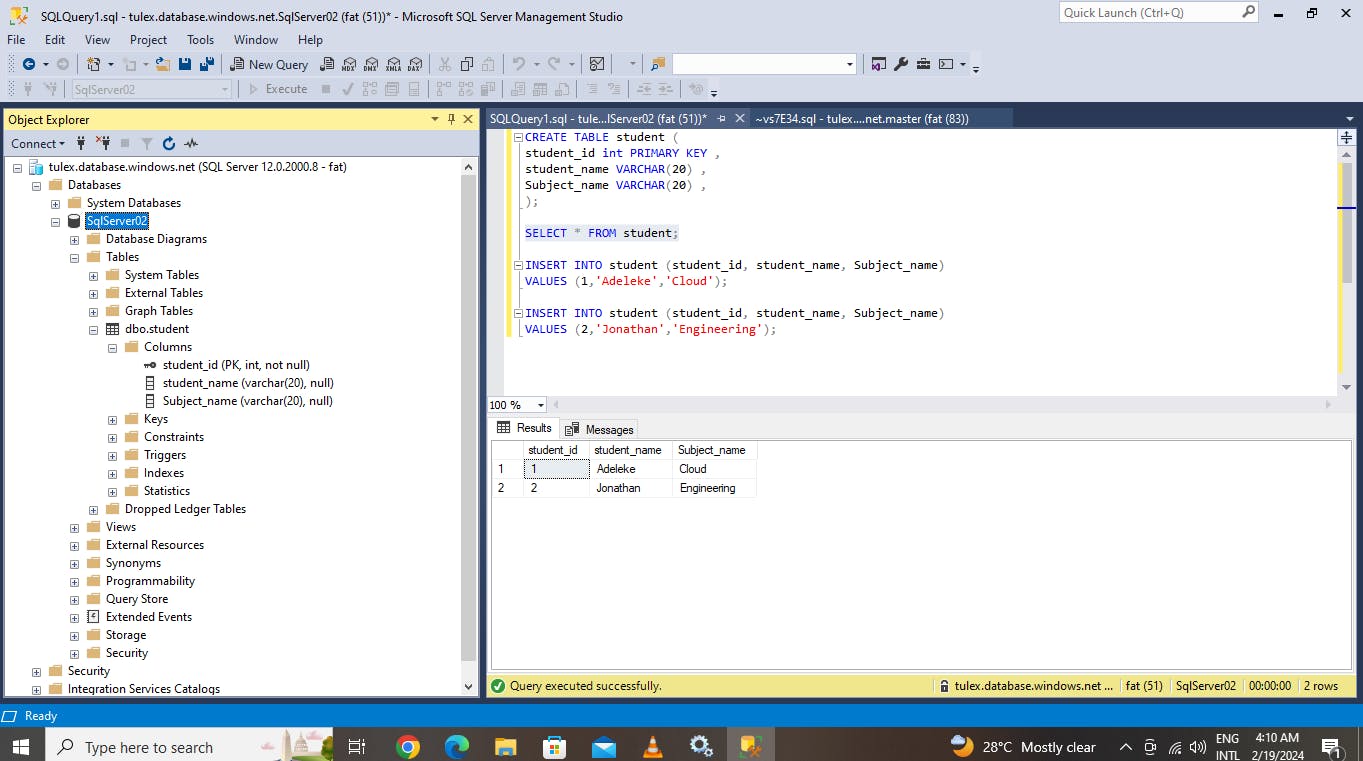
Now , after creating the Student table in the onprem database, lets go to Azure to see the created table.
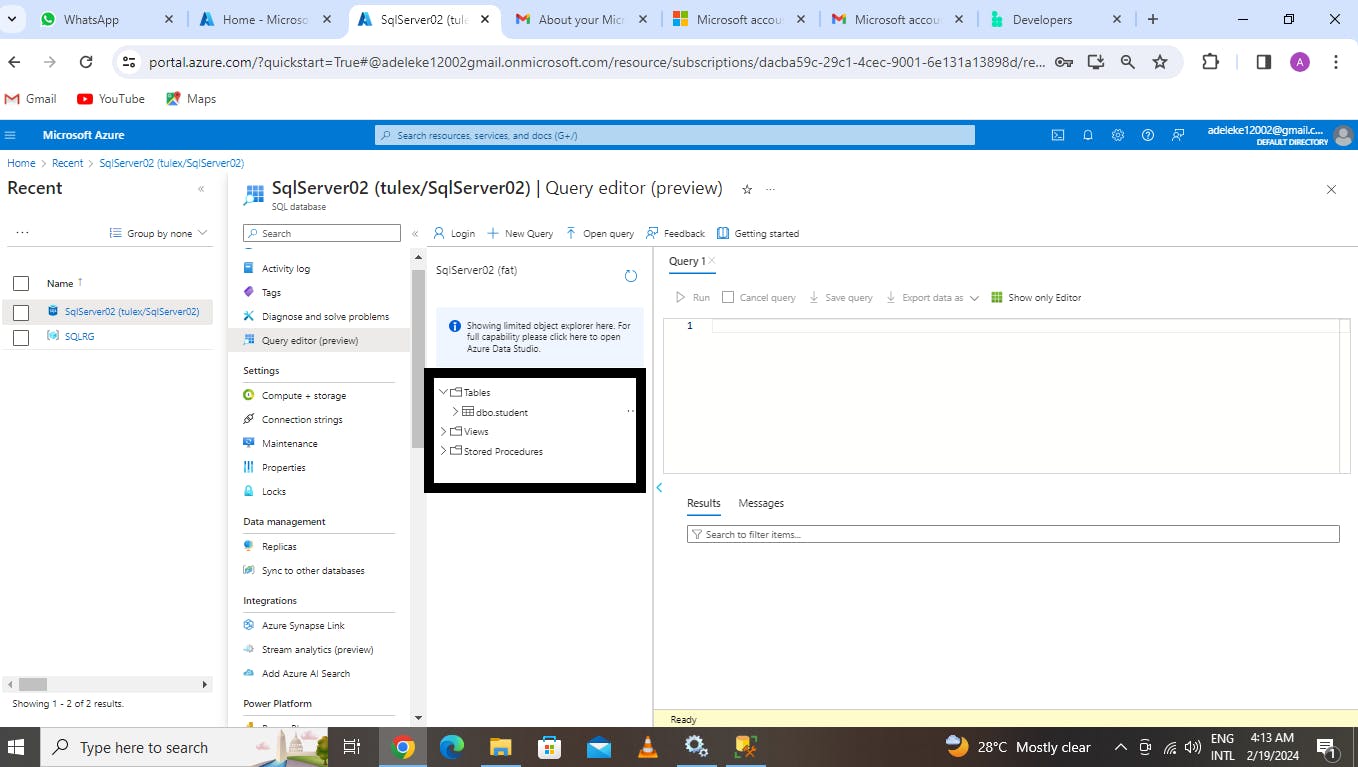
It is located in the Query editor in SqlServer02 in the Azure page.
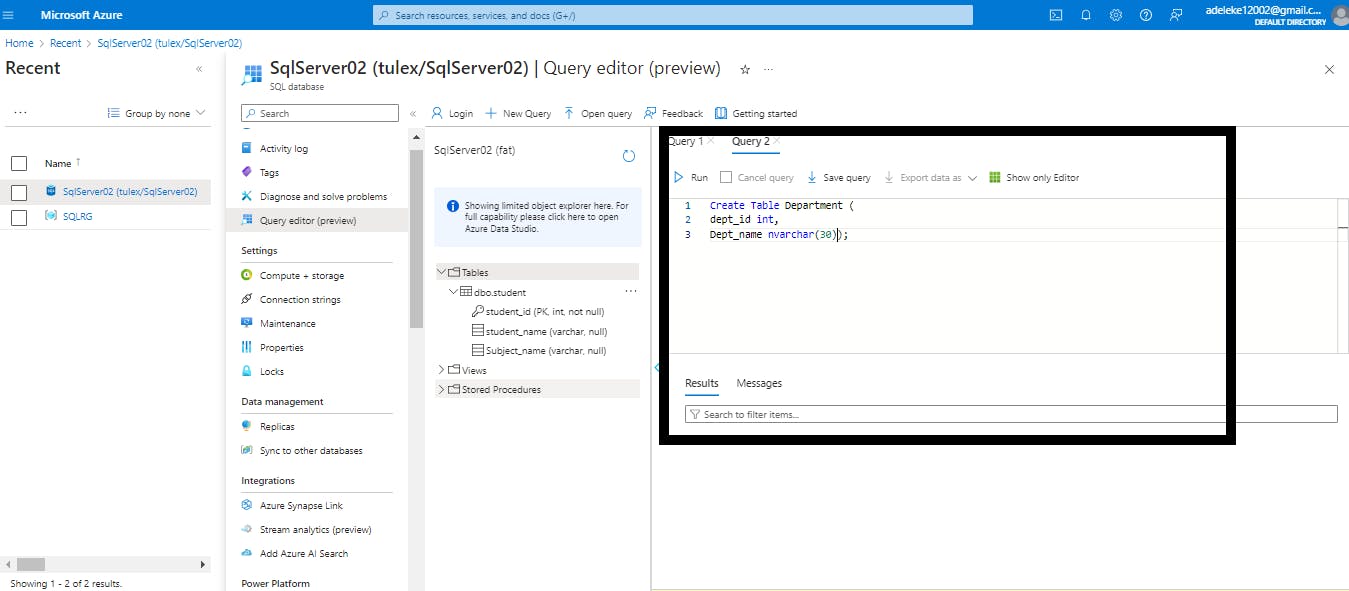
Moreso, i will like to create and run a department table from the Azure page using the query editor.
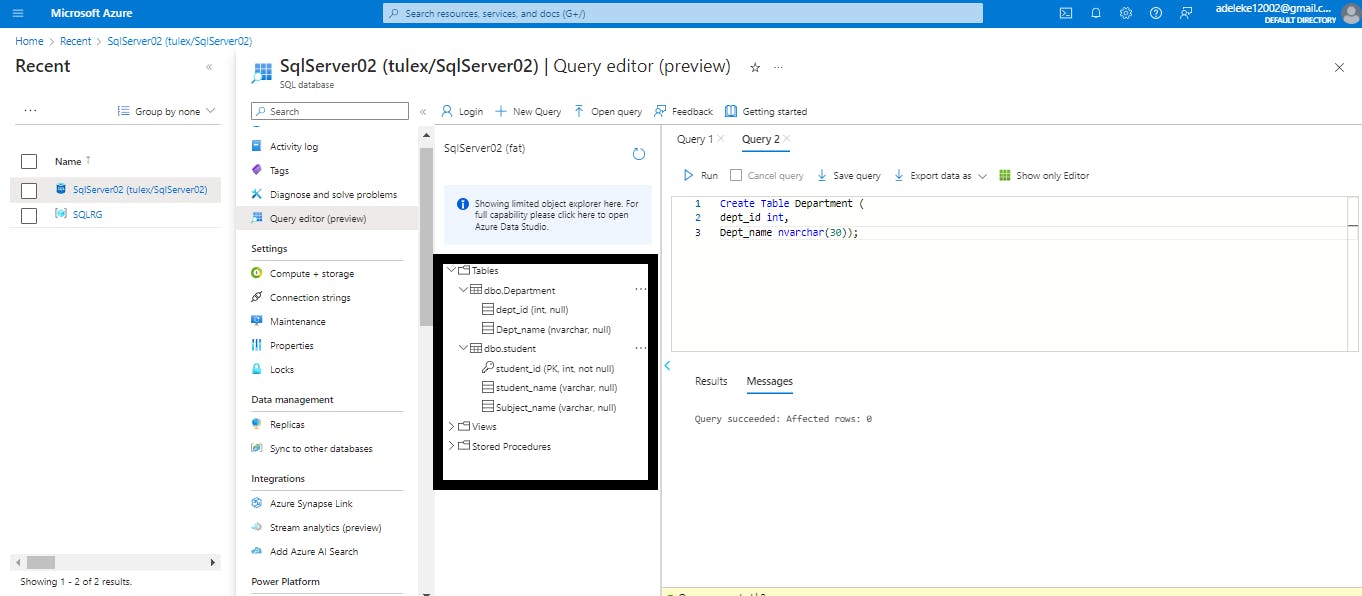
As shown below, the two tables are listed here
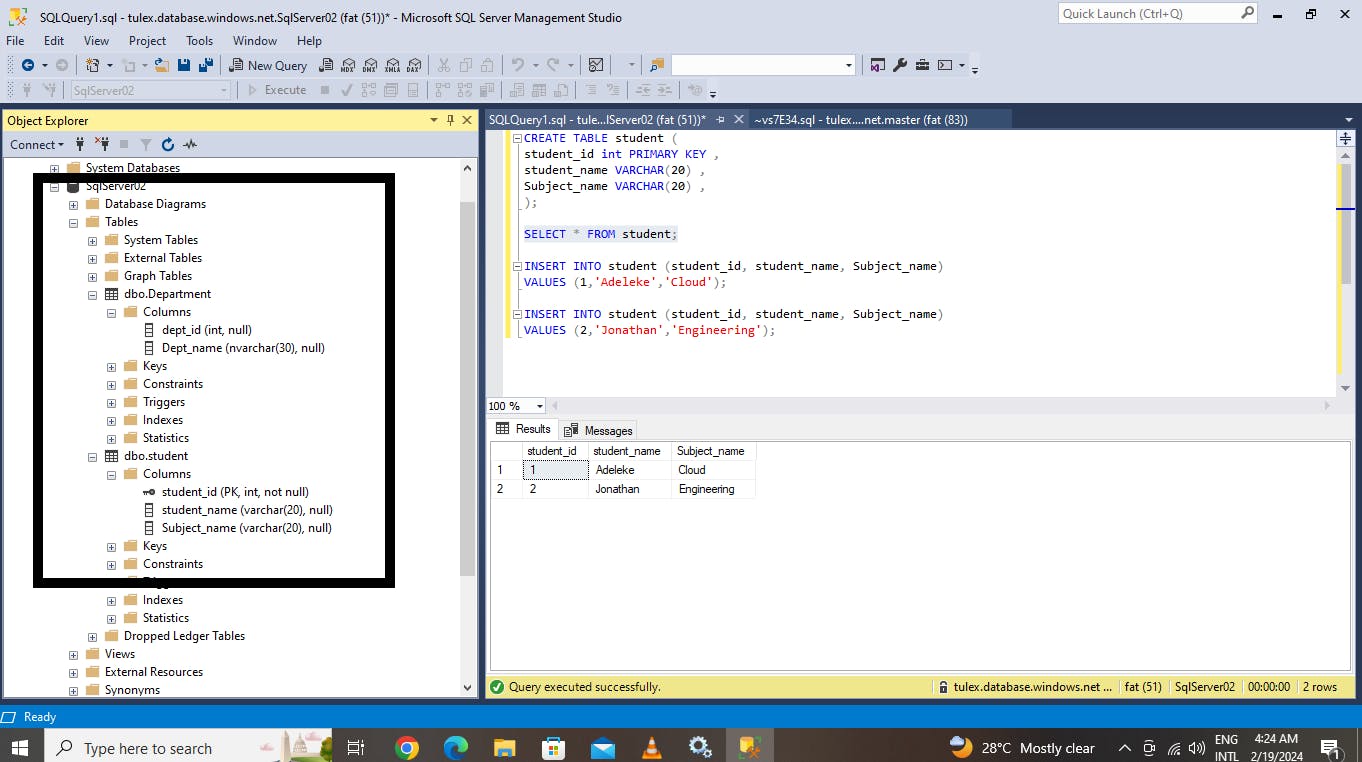
We can alse check from the onprem database to see if the table created in azure is listed
At this Juncture, I want my Onprem database to display both the local database and the Database i created and connected to .
I Click on Connect on the Onprem database
I use my Windows authentication login to connect to my database on premises and here is it.

The first been the Azure Database and the second been the onprem database.
I will be creating a MigrateDB on the Onprem database with the intention of migrating this database to Azure.
Deploy MigrateDB to Azure

You will be prompted for a login to the Azure portal you wish to deploy the database to.


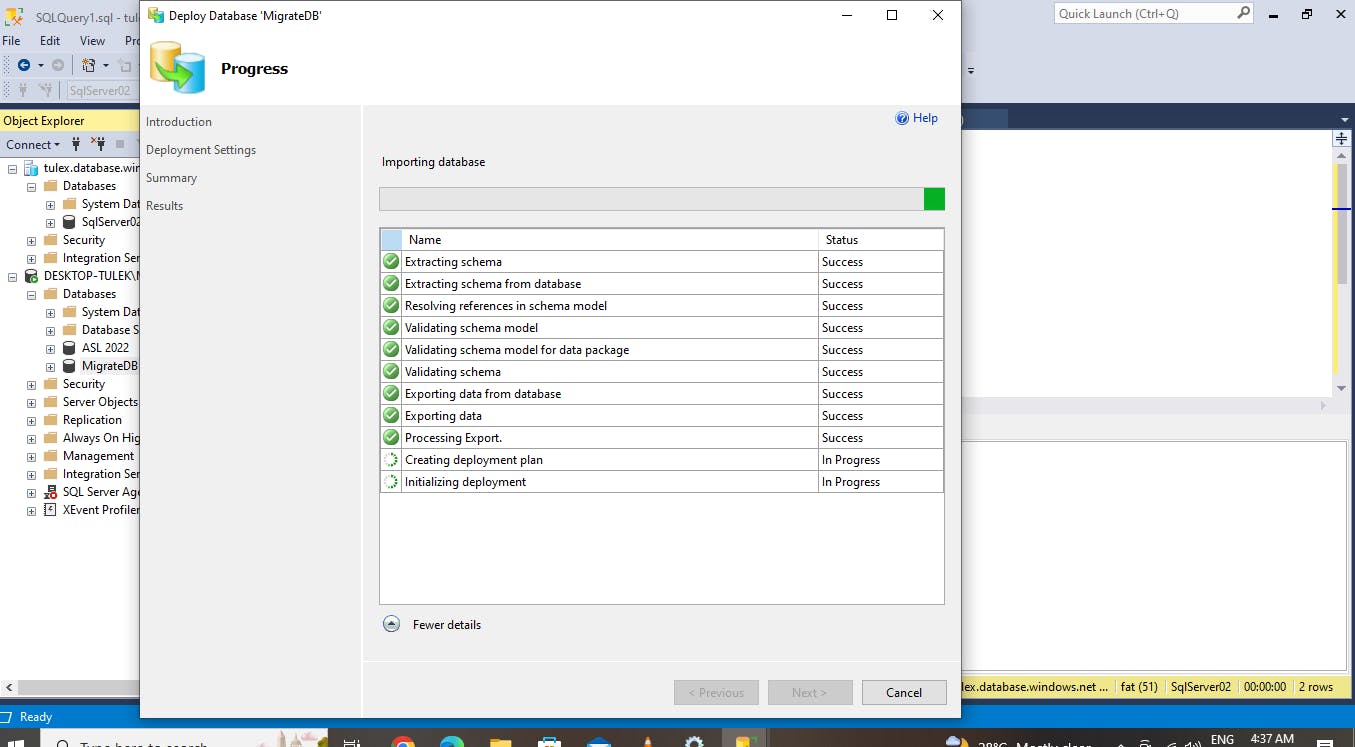
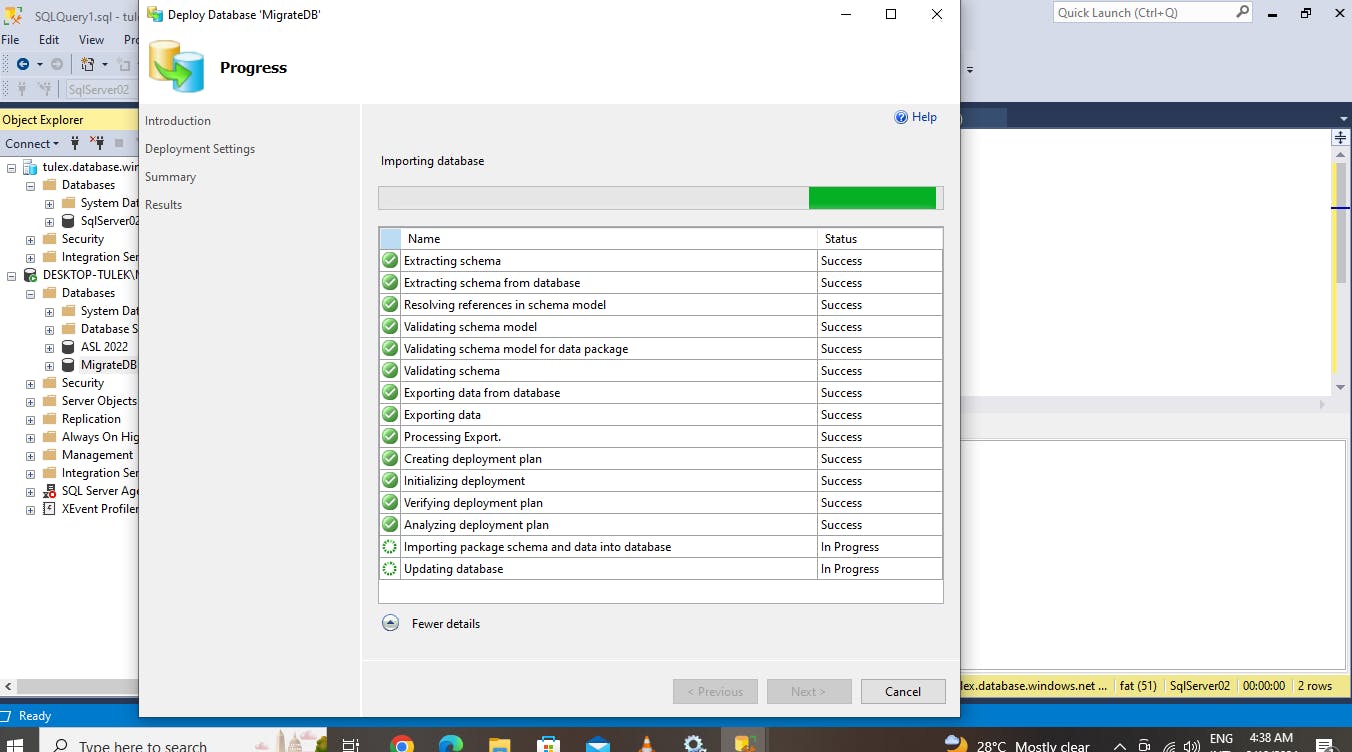
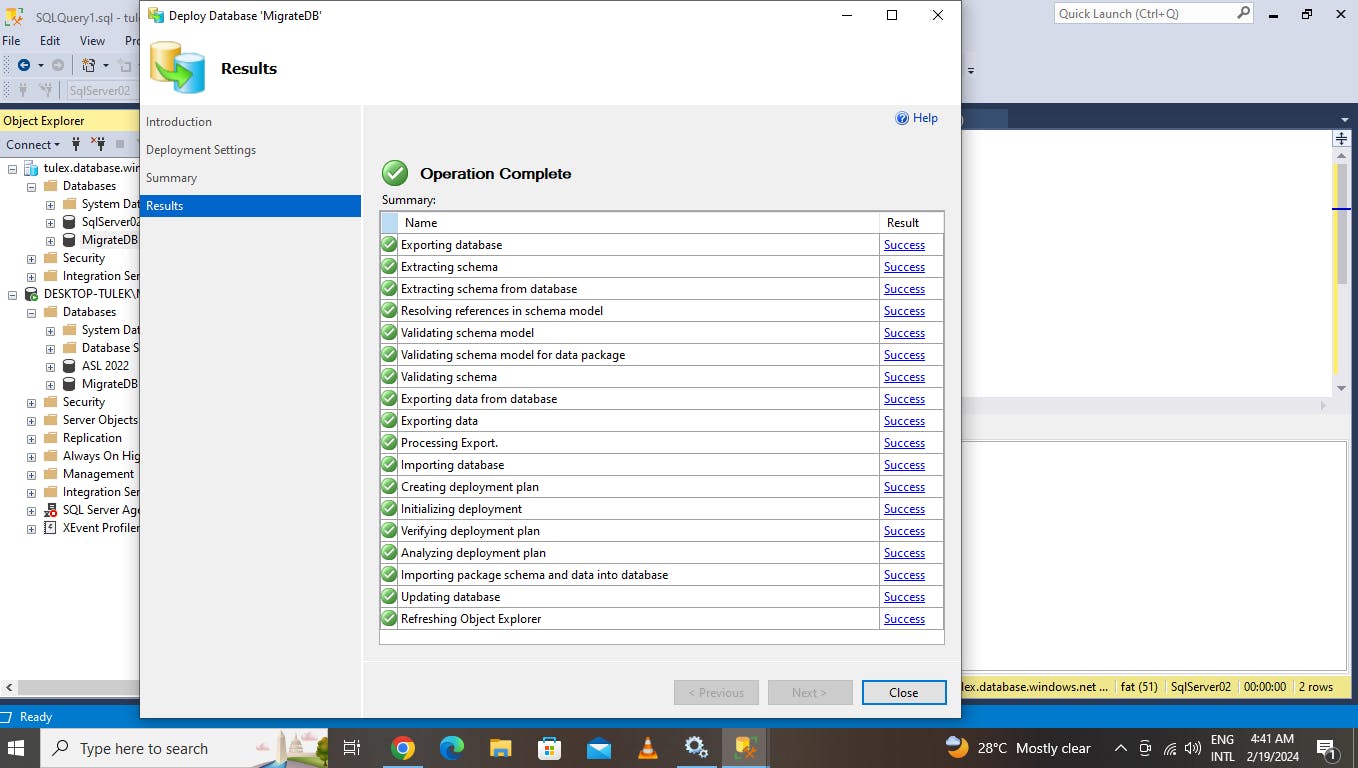
Deployment Successful
Lets Check the Azure Space to see if our deployment has arrive.
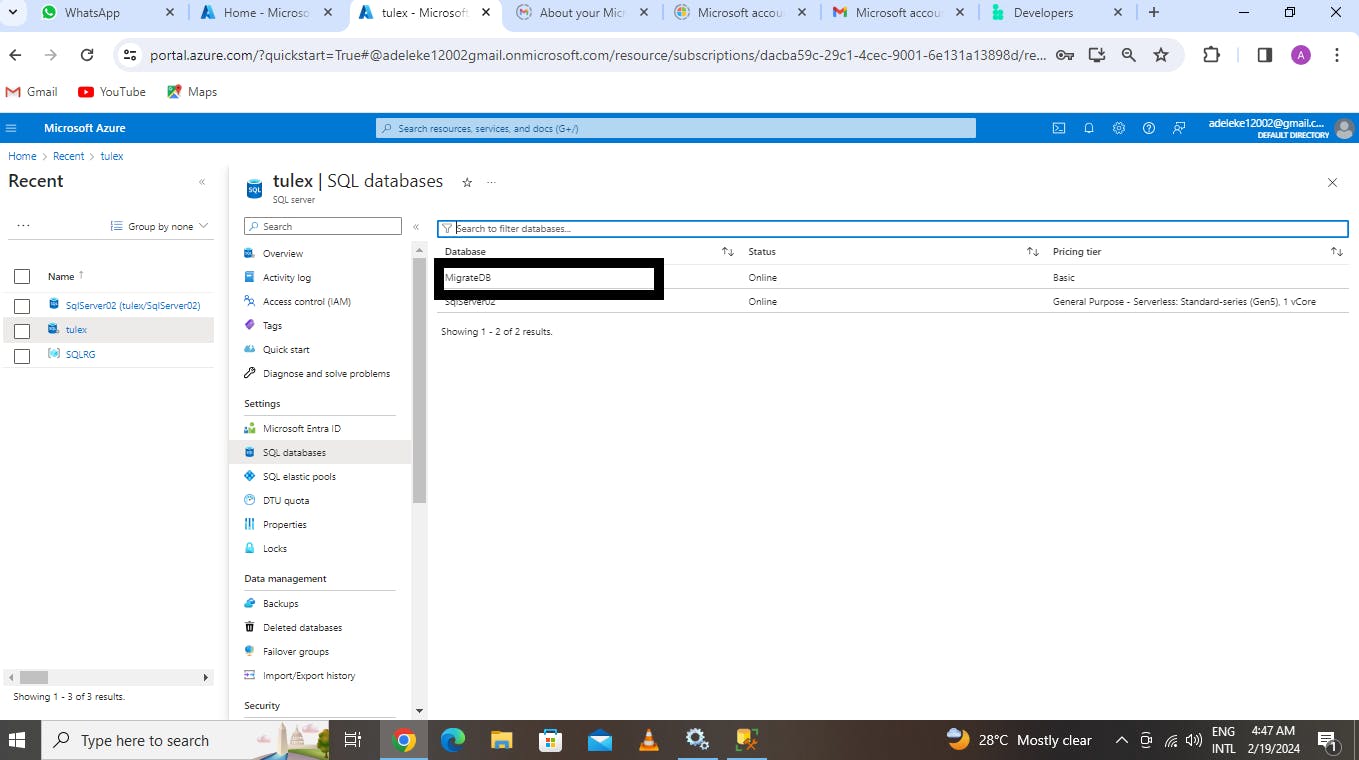
It has been Listed as our second database in Azure.
I can as well update the migrateDB in Azure by adding job_role

Lets Check the onpre database for the updates

If the MigrateDB is to be access worldwide for C.R.U.D , then MigrateDB in Azure will have more datas than the onprem MigrateDB . Thus, The onprem MigrateDB can be used as Backup in case you loose your data in Azure.
This means you can Setup an automatic Backup to the onprem MigrateDB.