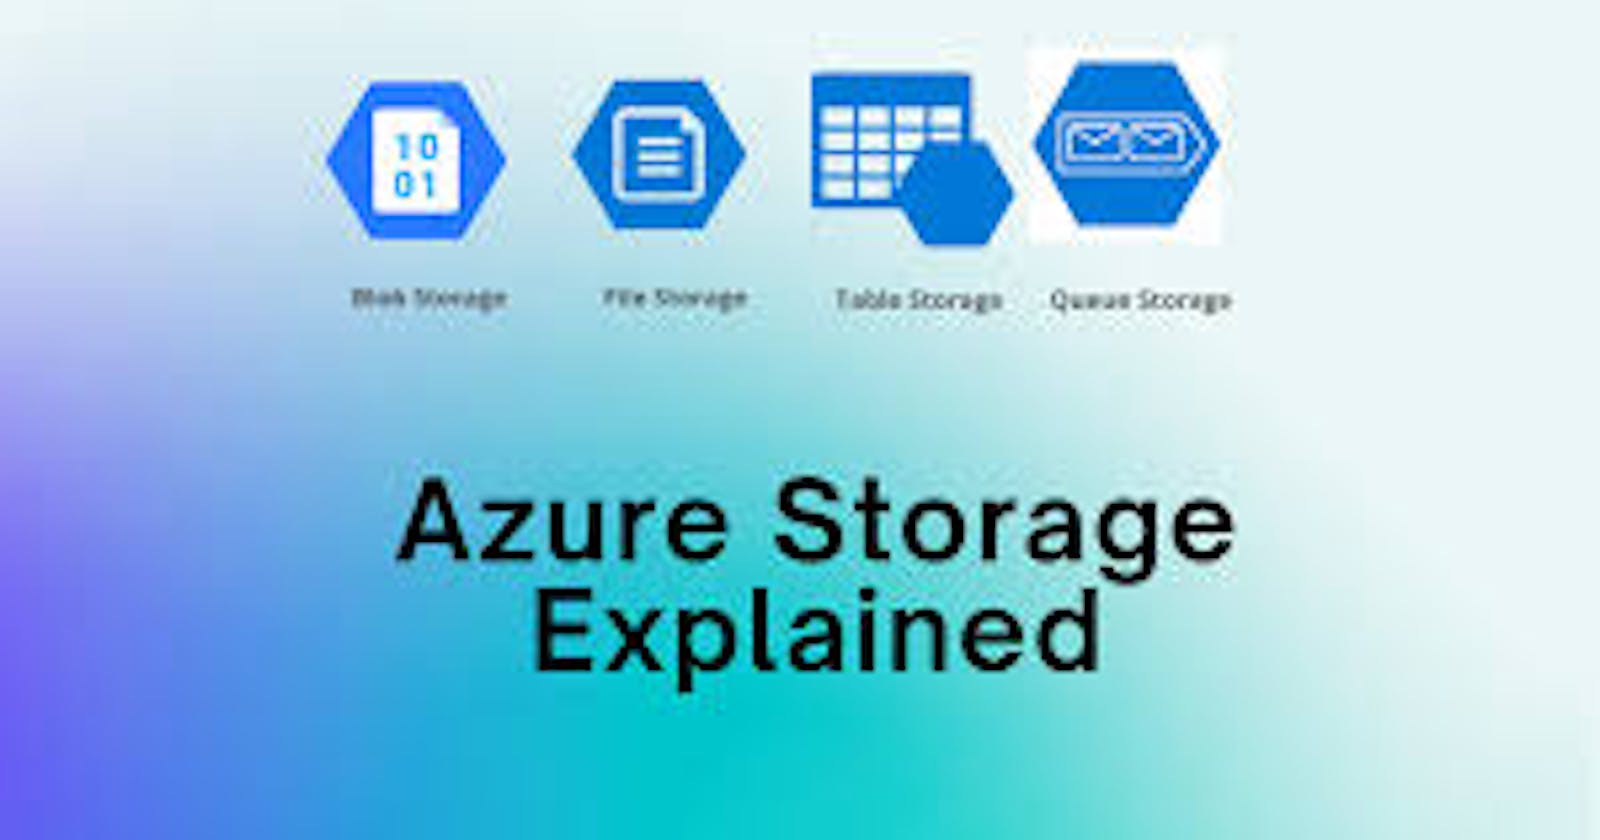
In This article, you will learn how to create an Azure Storage,Container and blob Storage.
First, Storage account provides a unique namespace for your Azure Storage data that is accessible from anywhere in the world over HTTP or HTTPS. An Azure storage account contains all of your Azure Storage data objects such as blobs, files, queues, and tables.
To Create a Storage account, some prerequisites need to be met.
Azure Subscription
Atleast a free acccount with Microsoft Azure.
A Storage Account is an Azure Storage Account Manager that manage your blobs,files,table and queues.
Login to Azure Portal, In the Search Bar, Search for Storage Account,click New

Give your storage account a name. In this case, Lekestorageaccount is my storage account name.
Proceed to select the region where your storage will be situated(Europe UK South.
Performance is Locally placed since this is a test storage. Locally in the sence that, All my storage resources reside only in one region.

The Enable Anonymous Access is very critical as this is used to prevent any viewer from gaining access to your Storage resources.

The image above indicate the mode you want to adopt to access the storage resources most likely via Virtual machine interface.

After all the Properties are set, Click create and your deployment start.

After a short while , your deployment is complete. as shown above.
Click on Home , and Select the newly created storage account.

If you check properly, you will see
Containers
File Shares
Queues and
Tables
These 4 form your storage Account.
You have just create a storage account.

To create a container, you need to click on the Container
Click New Container

Give your Container a Name.
In my Case, LekeBlob
Click on the LekeBlob and Upload an image to your blob.
To generate SAS URI in the Blob, Click on this Link
